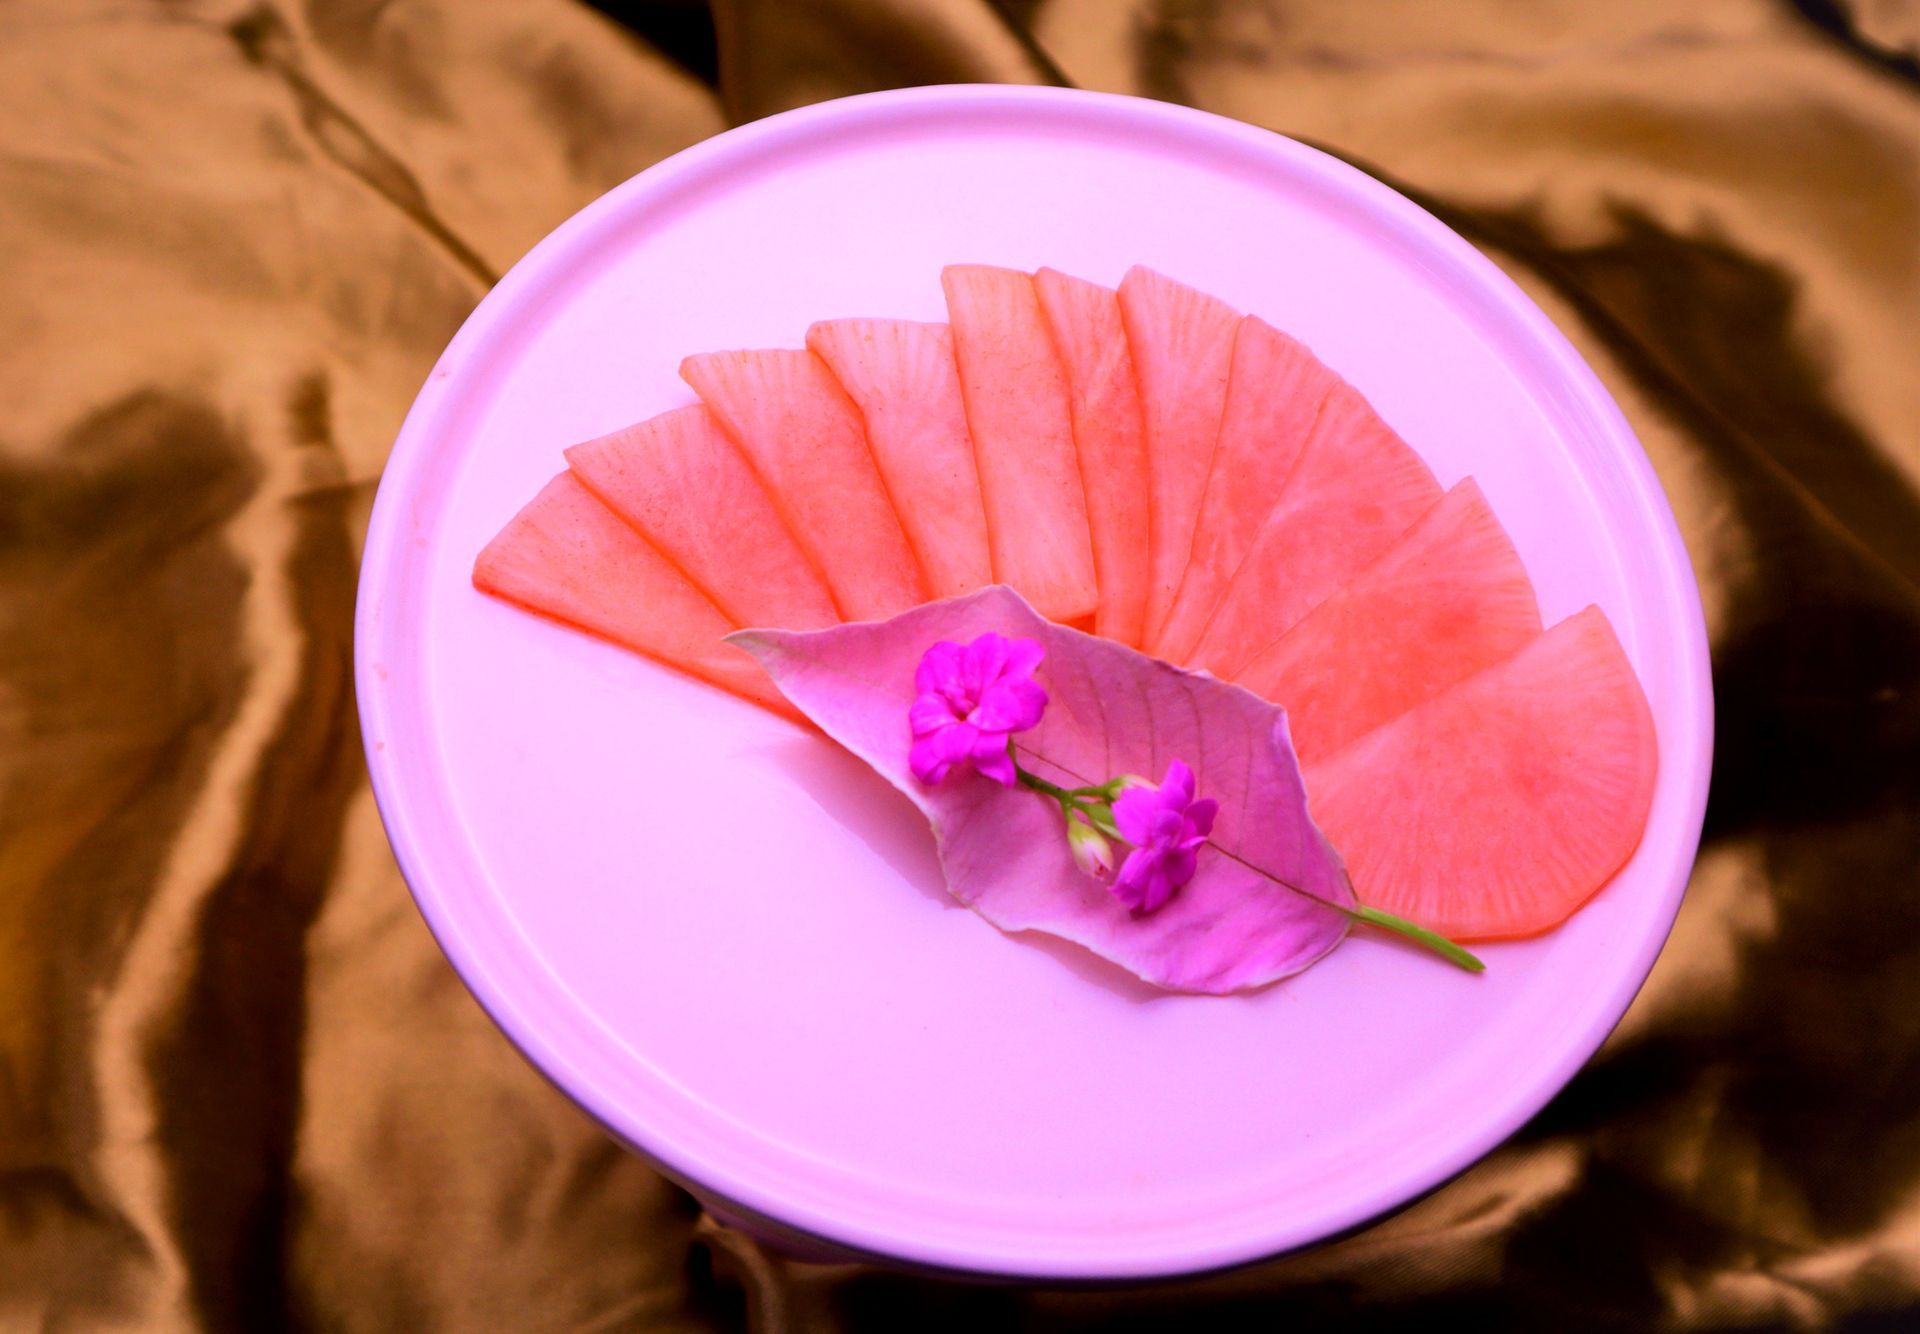
Pickled Pink Daikon

Mary McCabe • Feb 01, 2022

I have been making pickles for a long time. Sometimes with immense success and many times disastrous enough for compost. Being able to pickle is one of the most challenging of all challenges for me in the history of all my kitchen endeavors. I do not give

up. So, for those of you hesitating to take the pickle plunge, don't give up because it can be extremely rewarding. Pickling requires fermentation, and fermentation requires many factors,

some of which you will have little control over. There are many ways to study fermentation, simply put it is the process of preserving foods in an acid or salt solution. I am going to talk about my experiences with pickling to share with you through my successes and failures.


First, you must start by having fresh whole ingredients, preferably organic grown. Wash very well. Then begin to cut as you desire. Make sure that all your utensils are clean, clean. You need superior quality additions, such as sea salt, soy sauce, Ume vinegar or juice, miso, vinegar. Make sure the air quality in your kitchen area is fresh and clean, not stale.


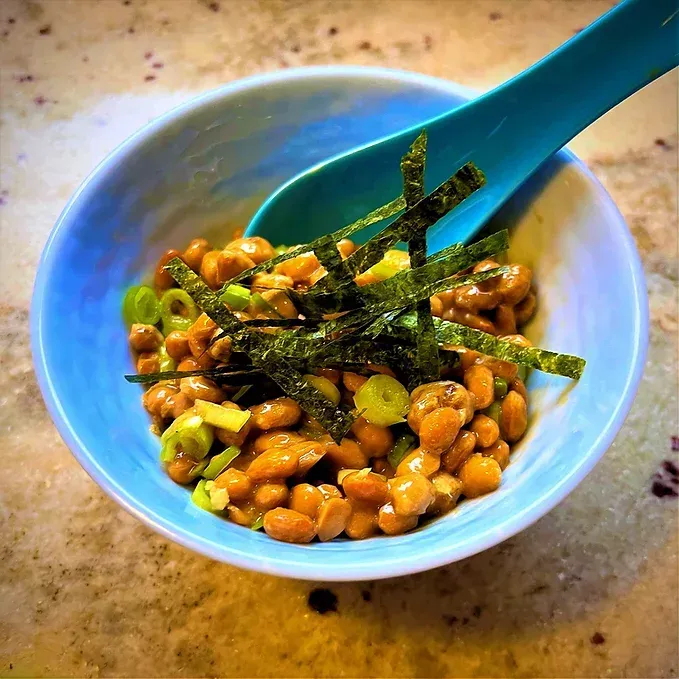
Years ago, between 1983 and 1984, I had the supreme honor of working with Sensei Noboru Muramoto. He is the author of Healing Ourselves and Natural Immunity. We processed Sea salt, miso, soy sauce, natto, tempeh and umeboshi with home grown purple shiso. I was always amazed at his hands, everything he touched and made turned to "gold". He explained his hands had years of working with fermented foods, I could only derive that his hands had great power to make the different foods he worked with respond to beyond the intended potential. When we made soy sauce, we first cooked the wheat, then added the koji culture. He would turn the wheat mixture with his hands, the perfume and heat from the big wheat mound was intoxicating. He told me that some people ruined the wheat during fermentation because of the bacteria on their hands. That made a significant impact on me to know how important our hands are in our food preparation. So, hand lotion is not recommended prior to food prep. Also, start with small quantities until you are more comfortable.


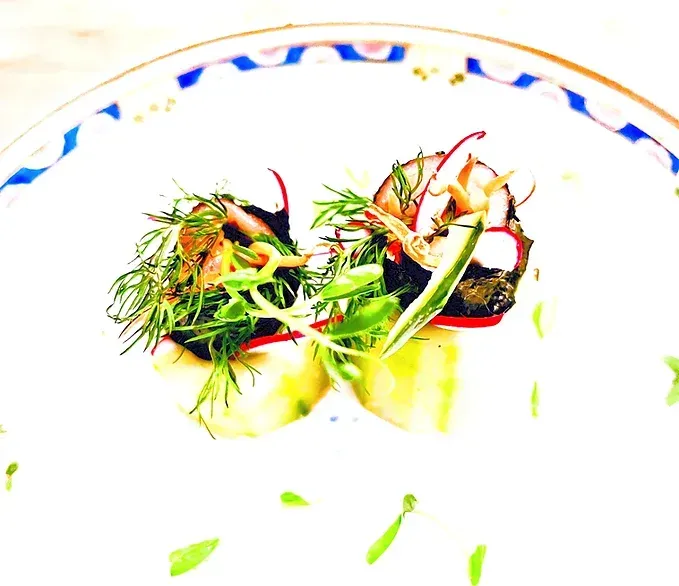
There are long term pickles and short-term pickles. This recipe is a short-term pickle since it is ready in just a few days. You may add many accompaniments, such ginger, sesame seeds, tasty herbs, shiso greens, etc. 

Ingredients
  • White daikon about 1 1/2 inches long to the recipe
  • 11/2 Tbsp. Ume vinegar
  • 1/4 cup peeled red pepper skin


Preparation
  1. Slice daikon in half down the center long way. Then slice into thin half-moon slivers.
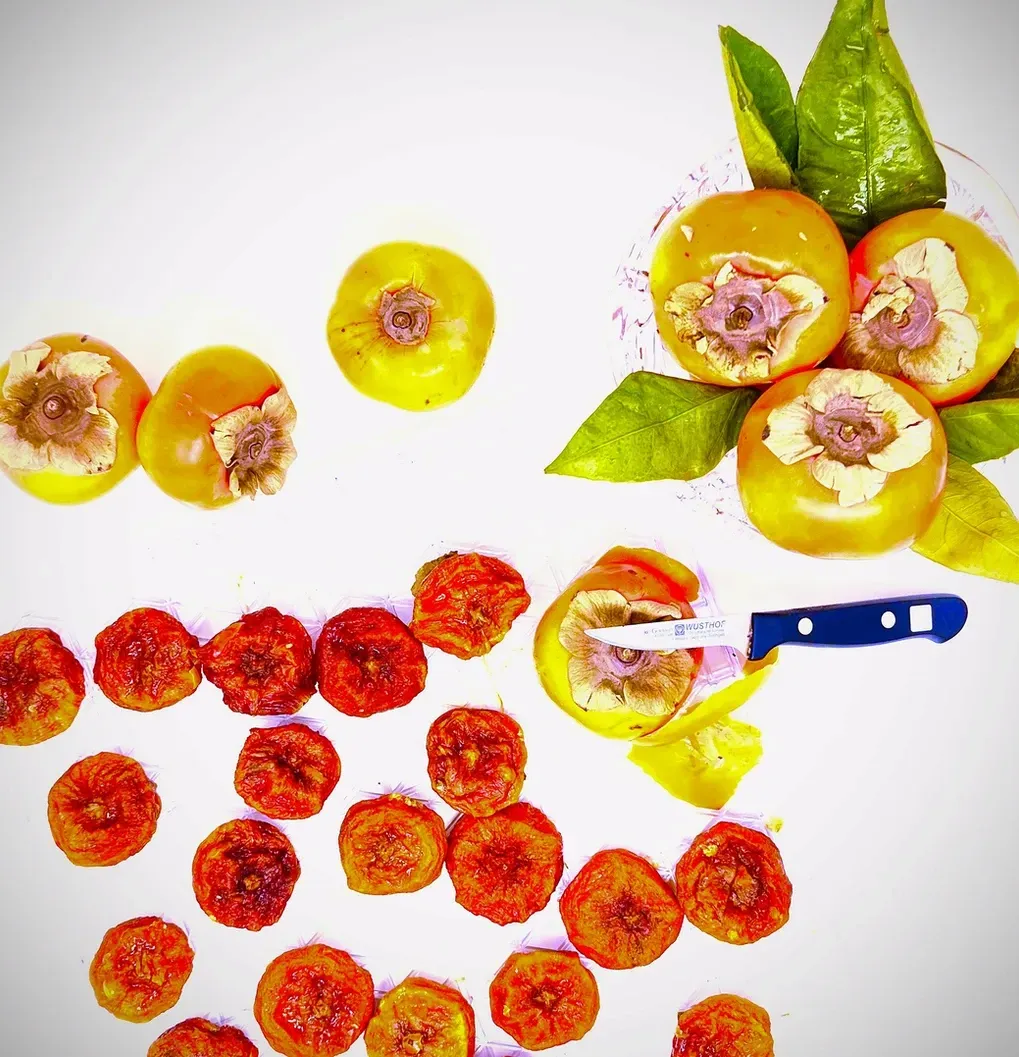
  2. Using a Y-paring knife, peel one-half of a red pepper.
  3. Mix well 1 Tbsp. Ume with the daikon slices. Mix 1/2 tsp. Ume with pepper skin. Add the pepper skins to the daikon, mix well, so the colorful juice begins to come out, saturating and covering the daikon.
  4. Use a plate with a lip so the daikon can lay flat with the pepper skins on top. Put a flat plate or something to cover completely close. Leave out overnight.
  5. Next day check to make sure daikon is still saturated. Cover with plastic wrap and put in the refrigerator. After a day or two, the pickles will be ready to eat. 


This is considered a light pickle and should be kept for about a week in the refrigerator. Hope you enjoy the taste of fresh daikon dressed in pink.


I have been using a variety of different pickling techniques for a long time. Sometimes it works out and certainly sometimes it does not. I am forever a student of the art of pickling. There are so many variables to depend on in the process. I find the most important is being able to create the best environment for fermentation to occur. Daikon radish is a perfect candidate to work with. It is a strong root vegetable that can hold up for a long time. Being white in its natural color gives a chance to add beautiful colors to be absorbed. And with Valentine's Day coming up, l found pink to be perfect. I hope you will try and enjoy it!

By Mary McCabe 25 Jul, 2024
Join Mary as she guides you through the ins & outs of Plant-based & Clean cooking. Previous experience not required!
By Mary McCabe 28 Jun, 2024
Ingredients Half cup dried whole barley One cup split pea One inch piece Kombu Two carrots diced Three stalks of celery diced One onion diced Eight cups water (approximately) One bay leaf 1 1/2 tsp. Sea Salt Soy sauce seasoning to taste Thyme, parsley, chives, scallions, parsley, and celery leaves your choice, try all, they make great flavor and nutrients.
By Mary McCabe 28 Jun, 2024
Preparation  Bring the water and kombu to a slow boil, remove kombu, set aside for later use. Add onions, allow to become transparent, add tofu, when tofu floats to the top, add wakame and mushrooms. Ladle some broth into a cup with the miso to soften, lower the flame to a simmer, add the melted miso. Do not boil miso, since miso is a live food, boiling will kill the microorganisms contained in the life of the miso. When the broth begins to move in a waving motion, 3 to 5 minutes turn it off and serve with the fresh scallions on top. This soup does not take long to make. It will keep in the fridge if leftover, but best served right away.
By Mary McCabe 07 Mar, 2024
INGREDIENTS Three cups of oat flakes 1 tsp. Sea salt ⅓ cup flax seeds ⅔ cup chopped walnuts One cup chopped almonds ⅓ cup sunflower avocado oil ¼ + cup maple or rice syrup ¾ cup dried apricots diced ½ tsp. Vanilla ¼ tsp. Almond extract 1 tsp. Cinnamon One cup of raisins
By Mary Mccabe 01 Sep, 2023
The Easiest and quickest way to cook dried beans
By Mary Mccabe 16 Mar, 2023
How to Make Polenta in an Array of Presentations, starting with one simple recipe.
By Mary McCabe 24 Feb, 2023
STUFFED CUCUMBER ROLLS
By Mary McCabe 24 Feb, 2023
Natto is made from cooked whole soybeans that have been fermented with koji spores. Once it is prepared, there is no need for further cooking. It is usually served as a side dish as an accompaniment with grains and noodles. It can be prepared by stirring it to bring out the stickiness, then adding different flavors, such as soy sauce, grated fresh ginger, daikon radish, jinenjo mountain potato, mustard, horse radish, chives, scallions, nori slivers, and other seasonings. It can be made at home with a bit of preparation and can be purchased in Asian markets or online. I find it is difficult to find Natto made with organic soybeans, so I am going to attempt to make it at home. I ordered the Kawashima Natto Starter Powder through Amazon, will update when I do it. I made it years ago with Sensei Muramoto, and remember that it was very different and more delicious than the frozen packages available. Natto has a distinctive smell and flavor that people either love it or hate it. I have heard that people who eat a lot of dairy do not like it, I am not sure how true that is. The benefits to enjoying Natto are enormous. It is a super nutritious food. It is originated in Japan, where the cooked soybeans were wrapped in rice straw which naturally had the bacillus subtillis bacteria on its surface. This allowed the sugar in the beans to ferment creating Natto. Soybeans are a very hard bean. It takes a long time to cook them. Soybeans are a very important part of the vegetarian diet because they are a one of the highest quality sources of plant based protein, vitamins, minerals and isoflavones. They do contain anti-nutrients such as lectins, however, it has been studied that fermentation reduces the content by 95%.
By Mary McCabe 24 Feb, 2023
When I lived in Southern California, studying with Sensei Muramoto, we made dried persimmons. We would get cases of them. It was early winter and he had a wood burning stove, since it would get chilly. He built what appeared to be a makeshift fort to dry the peeled persimmons. He used grass mats and built them all around the wood burning stove. We would sit for hours peeling them. He took great pride in being able to peel the whole fruit with one long peel. I never could do it. Every day, he would turn them. When they began to be more dry, he would press them slightly in the middle. It took several weeks before they were ready. In the morning, we would slice them in slivers and serve them with green tea. It was the most delightful combination. He said it created a seventh taste. After I moved back to Philadelphia, we remained good friends. Every year, he would send me a big box of dried persimmons for Christmas. And every year, I would send him a wool vest with leather buttons from Lord & Taylor. My children and I loved them. His persimmons were the most beautiful, they would have a natural sugary coating and beautiful texture and sweetness. His hands had golden microbes. Every food he touched blossomed into it's most highest potential. There is no real recipe to creating dried persimmons. Buy fresh persimmons not too ripe. Wash and then carefully peel the skin off, leaving as much fruit as possible. Set them out on a clean straw mat or something that would be makeshift. The area should be warm, near a wood burning stove. Make sure they don't touch each other. With clean dry hands, turn them each day. When they begin to crystalize on the outside, press the center slightly. When they are completely dried yet tender, store them in a dry air paper box, like cardboard, with wax or parchment paper to store. I would slice them and best serve with green tea.
By Mary Mccabe 24 Feb, 2023
Mary's Warm Residential Retreat & Healthy Cooking Classes and Meals
More Posts
Share by: